
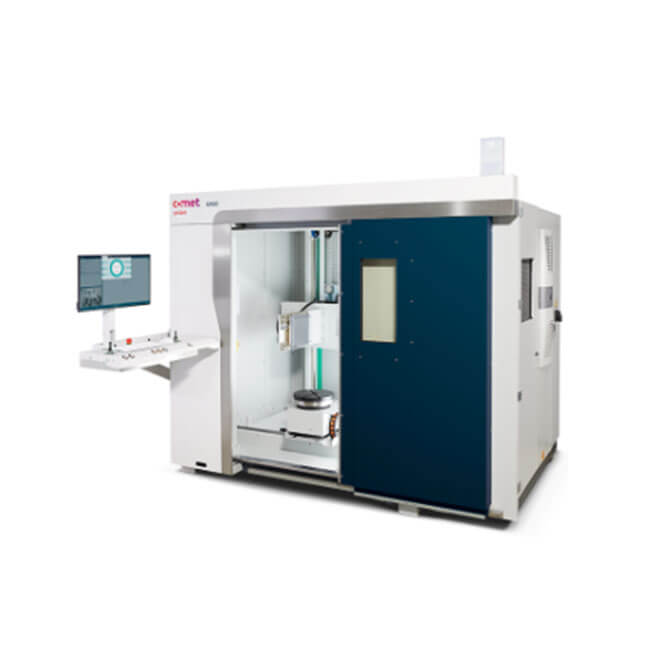
Yxlon UX20 SMT X-ray Inspection Machine
Designed to provide intuitive operation, the UX20 system makes it easy for users of all expertise levels to conduct highly efficient X-ray and CT inspections in record time - in manual, assisted or automated mode.
UX20 highlights:
Field-proven "Casting Insights" ADR software
Benchmark image quality
Fast results in 2D and 3D
Optional MesoFocus tube 225 kV
Image optimization with ScatterFix 2.0
Automated Data Transfer
SmartGuard crash protection
Compact footprint
Robust design
Effortless X-ray and CT inspection of cast parts
Due to the transformation to electric mobility, foundries are increasingly producing larger and more complex components. With its exceptional inspection envelope and our smart "Casting Insights" ADR packages, the UX20 facilitates fast and precise inspections of cast parts and helps increase overall production efficiency.
Casting Insights: Choose your automation level
Stay flexible and choose the level of automation that suits your production processes! Our new “Casting Insights” packages are built around our powerful, field-proven automated defect recognition (ADR) software TrueInspect. They enable reliable, fast and user-independent inspection decisions, in complete compliance with automotive requirements.
Your benefits with automated defect recognition (ADR)
Objective, reliable results
100% repeatability
Easy program teaching for new products
No false rejects
Increased yield
Enhanced productivity
Significant savings in time and costs
No product recalls
Significant savings in time and costs
See UX20 in our image gallery
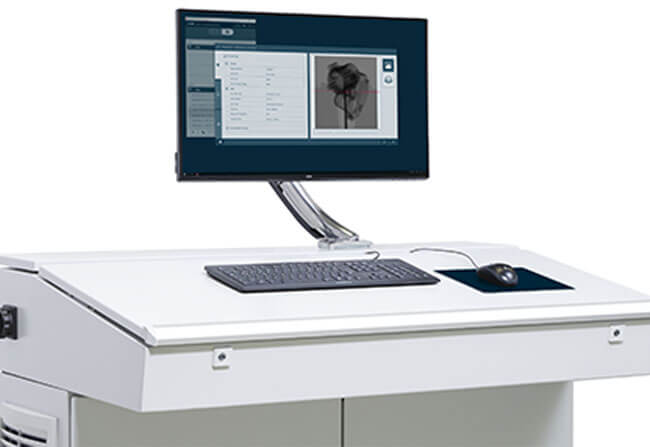
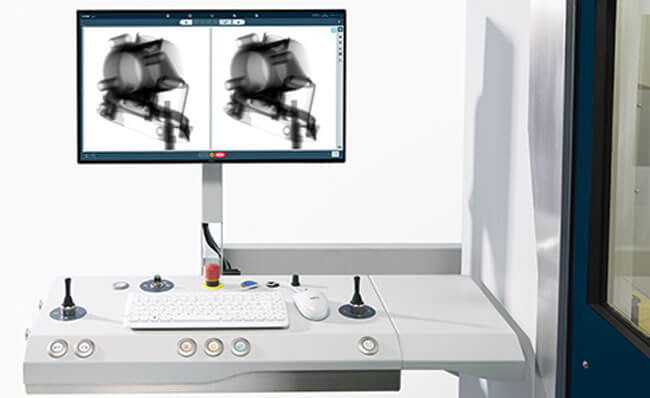
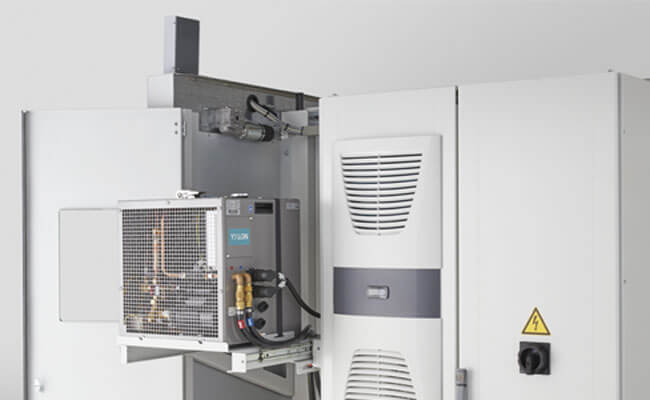
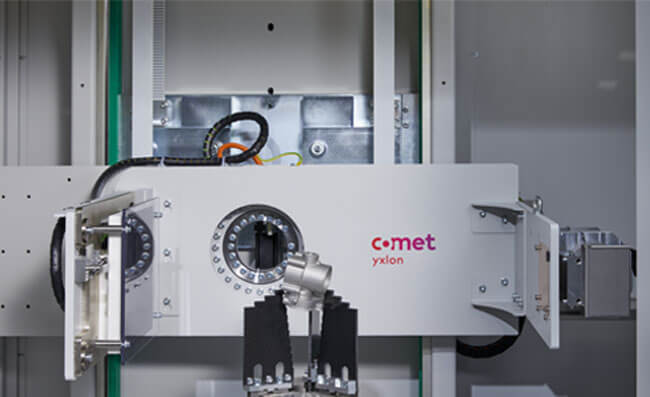
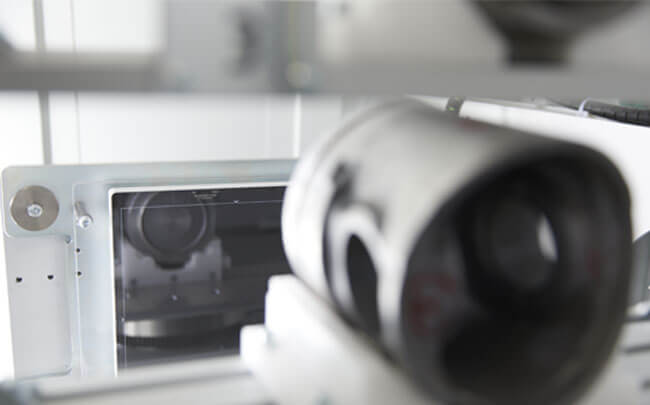
Intuitive operation with Geminy
As the unique user interface for all workflows, Geminy makes x-ray and CT inspections as intuitive as possible. Diverse user roles help to streamline tasks: While the expert can tweak all parameters, less experienced operators will be guided through the workflow by wizards and presets.
Avoid collisions: SmartGuard
SmartGuard, a Geminy software wizard, helps to safely generate highly detailed images without the risk of collision when positioning the test part, especially when it comes to asymmetrical parts.
Keep track: part ID and part type
Track & trace capabilities provide the flexibility to add the ID/serial number of parts to the inspection data and reports manually or via a barcode scanner.
Simply share: Automated Data Transfer
Save time and effort in providing 2D and 3D inspection data such as images and reports by activating the Automated Data Transfer to a fileserver outside the system.
Stay informed: Healthmonitor
Operators can quickly analyze the system’s condition and performance with one look at the Healthmonitor.
The optimized image chain of the UX20 enables any operator to achieve reliable benchmark image quality.
ScanExtend: Enlarging the field of view
The UX20 is equipped with a strong suite of computed tomography features. With ScanExtend, the wizard guides users through the set-up of various scan-field extensions, while FlexCenter sets a virtual rotation axis to inspect difficult parts or regions of interest without the need to reposition the object.
With ScanExtend large parts can be inspected easily
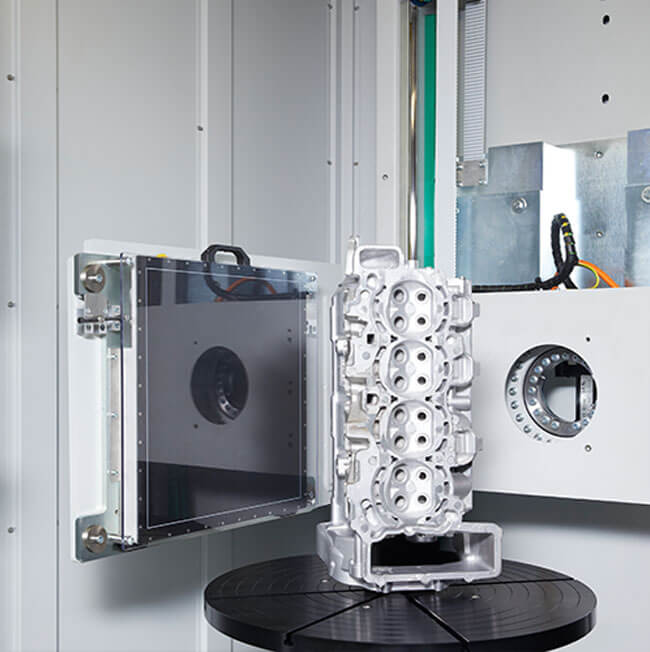
ScatterFix 2.0: Optimized surface determination
ScatterFix 2.0 improves the quality of the CT data by reducing parasitic scattered radiation –for an optimized surface determination when inspecting large and massive components.
MesoFocus: Higher resolution, low maintenance
The MesoFocus technology combines the benefits of the mini-focus and the open micro-focus tubes. Three selectable focal spots provide optimum spatial resolution into the micro-focus range, while the robust design of a sealed tube makes the optional MesoFocus tube perfect for rough environments.
Which parts can be inspected with the UX20?
Automotive and aerospace castings
Welded structures
Multi-material components
Additive manufactured parts
Special alloys
Plastics and fiber-reinforced composites
Ceramics
Which applications is it designed for?
Quality assurance and material analyses
Failure analyses e.g., flaws, porosities, cracks, inclusions
Assembly checking
Measurements of inner structures
First inspections
Small series inspections
Spot-check inspections
Process control
Ergonomic design, no distractions
The clean layout of the operator desk allows users to stay focused on the inspection task. The height of the control panel can be adjusted to meet individual requirements to work in a standing or sitting position. The joysticks and buttons on the panel can also be operated when wearing gloves.
Height adjustable operator desk
Technical Data
| Configuration | Flat-panel detector 2323 HB | Flat-panel detector 4343 DXi |
| Maximum Sample Weight | 100 [kg] | 100 [kg] |
| System Dimensions | 2250 x 1770 x 2350 [mm] | 2250 x 1770 x 2350 [mm] |
| Available X-ray Tubes | 160-225 [kV] mini-focus, 225 kV MesoFocus | 160-225 [kV] mini-focus, 225 kV MesoFocus |
| Detector Active Area | 1280 x 1280 [px] | 3072 x 3072 [px] |
| Pixel Pitch | 179 [µm] | 139 [µm] |
| Oblique Viewing | +/-55 (45° in central beam) | +/-55 (45° in central beam) |
| CT Modes | Cone-beam CT, QuickScan, QualityScan, FlexCenter (virtual rotation axis), ZoomScan, SpeedMode, ScanExtend (FoV extensions) | Cone-beam CT, QuickScan, QualityScan, FlexCenter (virtual rotation axis), ZoomScan, SpeedMode, ScanExtend (FoV extensions) |
| Inspection Envelope DR (2D) | 710 x 1090 [mm] | 800 x 1100 [mm] |
| Inspection Envelope CT (3D) | 190 x 165 [mm] | 340 x 280 [mm] |
| Inspection Envelope CT (3D) with ScanExtend | 315 x 1085 [mm] | 540 x 1100 [mm] |


 Jacky
Jacky Jacky
Jacky