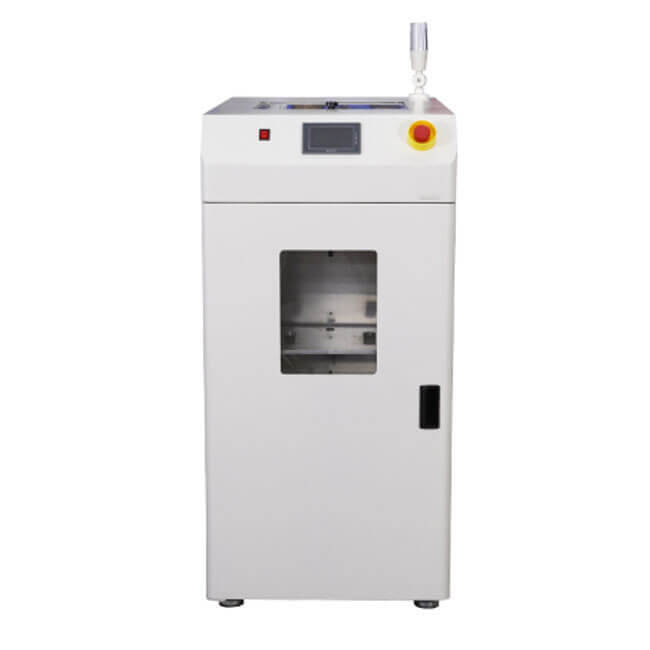
China Vacuum Suction Board Loader
Vacuum plate suction machine operation steps ※ Installation mode
1. Plug the power plug into the power socket.
2. Insert the quick gas plug into the quick gas outlet.
3. Connect the front and rear online signals of the machine to the front and rear devices respectively.
3.1 Connecting signal between the machine and the front machine a. Front machine board signal :X0, 0V
b. This machine needs board signal :Y0, COM0
3.2 Connection signal between the local machine and the rear machine
a. The machine has board signal :Y1, COM1 After the machine needs board signal :X1, 0V
4. Adjust the foot cup and moving equipment to make the Conveyor guide rail of the machine consistent and aligned with the Conveyor guide rail and height of the rear connecting equipment (usually screen printing machine).
5. Set the power switch knob ON the operation panel to the ON position. Then the power indicator lights up.
6. Switch the "vacuum plate/pass through function" to switch the position of the required function.
7. After pressing the start button, the machine enters the selected function running state and the green light is on.
8. In the manual adjustment state, press the "Reset" button first, and then press the "tray up", "tray down", "suction cup up", "suction cup down", "vacuum", "transfer" six buttons to achieve the above six functions respectively.
9. Press the "suction cup rise" button so that the suction arm is in the upper limit position, and the two guide rails are in the clamping state. Open the front door, plug in the crank, and adjust the width of the guide rail to the width of the PCB board required.
10. Adjust the suction nozzle and the hydraulic buffer at the upper end of the roderless cylinder, so that the bottom surface of the suction cup is 3~5mm higher than the PCB board. 11. Place a PCB board on the bottom plate so that it is close to the two positioning edges of the plate suction machine.


 Jacky
Jacky Jacky
Jacky